How to Make Your Own Curl Cream
There’s something incredibly satisfying about making your own hair products. You know exactly what’s in them, you can customise every drop to your needs, and you’re not at the mercy of hefty price tags or questionable ingredients. If your curls crave definition, hydration, and frizz control, a homemade curl cream might be the solution you didn’t know you needed.
Store-bought creams often promise the world, but many are packed with silicones, alcohols, or synthetic fragrances that can leave your curls feeling heavy, dry, or coated. Making your own gives you full control — from consistency to scent to performance. In this guide, you’ll learn why curl creams work, the best natural ingredients to use, and how to build a curl cream tailored to your texture and lifestyle.
Why Use a Curl Cream in the First Place?
What Curl Cream Does for Natural Hair
Curl creams are a styling and moisturising hybrid — they hydrate, define, and help maintain curl shape without stiffness. Unlike gels, they offer a softer, more touchable finish, and unlike oils or leave-ins, they’re rich enough to stand alone as a one-step product for many curl types.
Here’s what a good curl cream can do:
- Define your natural curl pattern without crunch
- Hydrate and soften your strands
- Reduce frizz by smoothing the hair cuticle
- Add shine and manageability
- Minimise shrinkage and boost volume
Store-Bought vs. DIY Curl Creams: What’s the Difference?
Store-Bought Options
They’re convenient, but not always ideal. You’ll often find:
- Silicones – for shine, but can build up over time
- Artificial fragrances – irritating to some scalps
- Preservatives and stabilisers – extend shelf life but not curl health
- Price inflation, especially with trend-focused branding
DIY Options
Making your own curl cream means:
- No harsh chemicals or hidden additives
- Cost-effective in the long run
- Customisable to your texture, porosity, and preference
- A sense of ownership and connection to your curl care
For a more holistic approach, start with a simple curly hair regimen and integrate your DIY cream seamlessly into your routine.
Key Ingredients to Build a Great Homemade Curl Cream
Let’s break down the essential building blocks for your DIY curl enhancer:
1. Base Moisturiser
This is your cream’s foundation — it hydrates and gives body to your formula.
Options include:
- Shea butter – rich, creamy, perfect for thick or dry curls
- Aloe vera gel – lightweight, soothing, great for fine curls
- Coconut milk – adds softness and a light, milky texture
- Avocado butter – deeply nourishing and great for coarse curls
2. Liquid Component
To emulsify your butter and give your cream a smoother consistency.
- Distilled water – hydration without impurities
- Rose water – soothing and beautifully scented
- Aloe juice – for added moisture and scalp benefits
3. Natural Oils
Help seal in moisture, boost shine, and nourish your hair.
- Jojoba oil – lightweight and great for all curl types
- Castor oil – thick and excellent for reducing breakage
- Sweet almond oil – softens and smooths frizz
- Argan oil – great for shine and a silky feel
4. Optional Add-Ins
Customise your curl cream based on your goals:
- Essential oils (lavender, peppermint, rosemary) — for scent and scalp health
- Vitamin E oil — for hair strength and longer shelf life
- Glycerin — a humectant that draws moisture into the hair
- Silk protein or hydrolysed oats — for added definition and strength
Customise for Your Curl Type
Your curl pattern and porosity determine the texture and richness your hair will thrive on.
For Type 2 (Wavy)
- Use lighter butters like aloe vera gel or mango butter
- Stick to low oil content
- Avoid heavy occlusives that may weigh your waves down
For Type 3 (Curly)
- Opt for shea butter or avocado butter as a base
- Medium oil content is ideal
- Add aloe juice or glycerin for extra hydration
For Type 4 (Coily/Kinky)
- Rich butters like shea or cocoa give you the slip and moisture you need
- Don’t shy away from thicker oils like castor
- Add proteins for curl elasticity and definition
Trial and error is key. Keep a log of what works to fine-tune your formula over time.
Practical Tips for Making and Storing DIY Curl Cream
Preparation
- Use clean, dry tools and containers to prevent bacterial growth
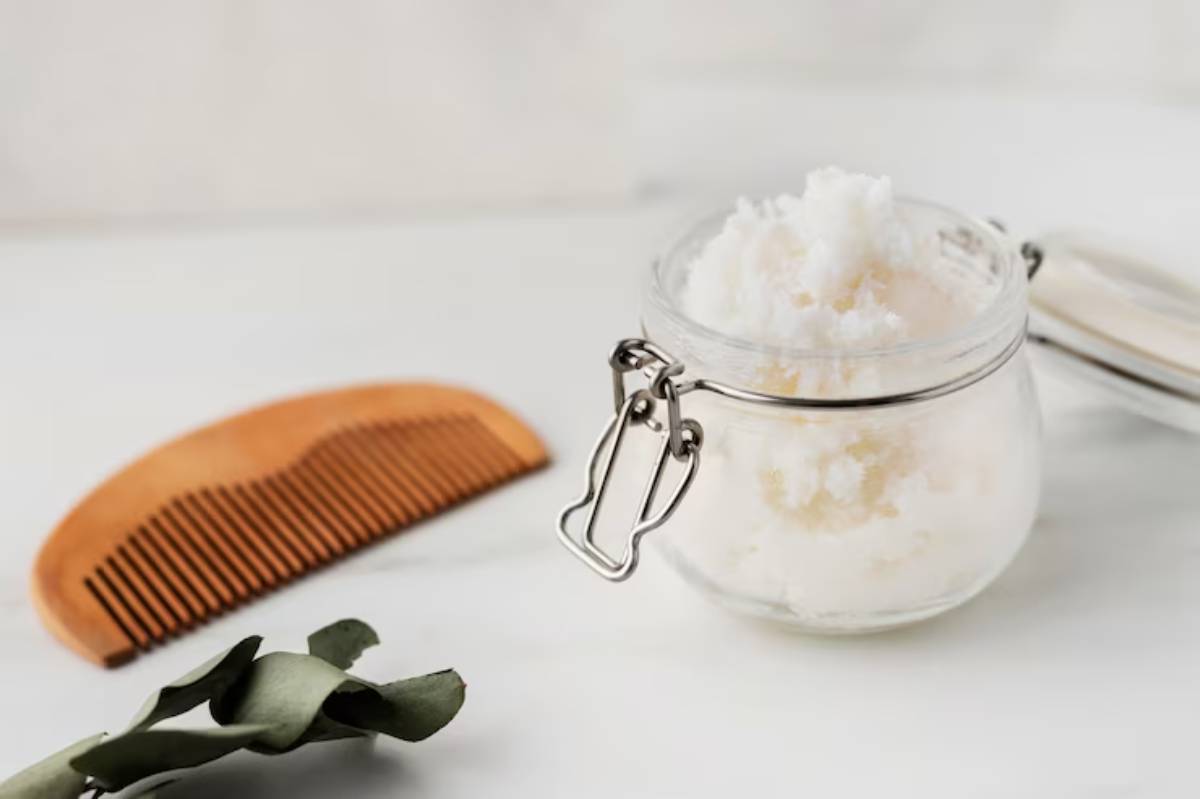
- Mix ingredients using a hand blender or whisk for a fluffy, whipped texture
- Store in a dark glass jar to preserve freshness
Shelf Life
Homemade products don’t contain preservatives. Keep your cream:
- In the fridge, if water-based (lasts 1–2 weeks)
- At room temp, if oil-based and made without water (lasts up to 3 months)
- Always use clean hands or a spatula to avoid contamination
How to Use Curl Cream Effectively
Using curl cream is all about the right application.
- Apply to damp hair for best absorption
- Work in sections, using a generous but not heavy amount
- Use the “praying hands” method to smooth through strands
- Scrunch or twist for added definition
- Air dry or diffuse to set the shape
Want to build an even stronger curl care foundation? Pair your curl cream with one of the best leave-in conditioners for curly hair to maximise hydration and longevity.
Common Mistakes to Avoid
Even natural products can misfire. Avoid these pitfalls:
- Using too much leads to a buildup and limp curls
- Skipping emulsifiers when combining water and oils – they’ll separate
- Forgetting about storage, anything water-based needs refrigeration
- Not testing on a small patch – some natural oils can trigger allergies or scalp reactions
Always listen to your hair. If it feels heavy, greasy, or frizzy, it might be time to tweak your formula.
Conclusion: Create, Nourish, and Embrace Your Curl Power
Making your own curl cream isn’t just a DIY project — it’s an act of self-care. It gives you the power to understand what your curls truly need and create a formula that supports them from root to tip. Whether you want bounce, moisture, shine, or all of the above, crafting a homemade curl enhancer lets you embrace your natural texture on your own terms.
Start simple, stay consistent, and enjoy the journey. Your curls will thank you — with definition, health, and that glow only well-loved hair can have.
So grab your whisk, pick your ingredients, and mix up a batch — your most radiant curls are just one homemade cream away.


